Clay Oven - A DIY With Mud and Sand
Clay oven is a continuation of my DIY oven projects. This project was as exciting as the brick-oven project. It involved sourcing materials like the base, platform, clay, sand, saw-dust etc. This too is on the roof of my house.
|
|
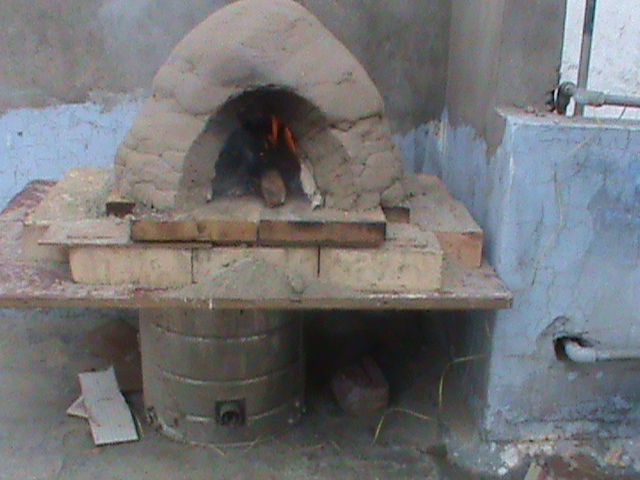
Photo 1
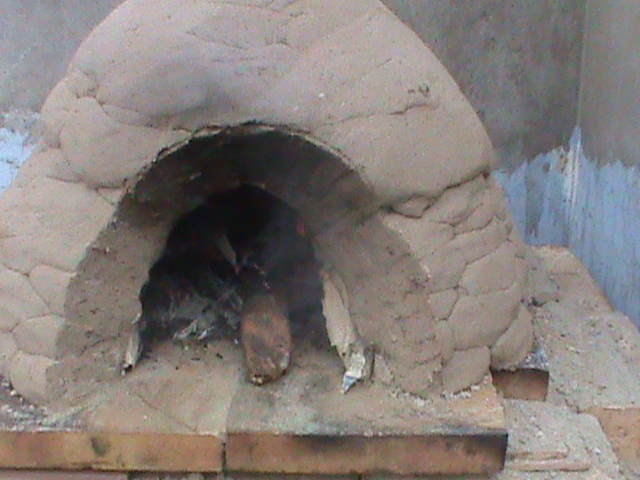
Photo 2
Photo 2 shows the profile. You can see that it is a small one. The diameter is about 19" and the height about 14".
|
|

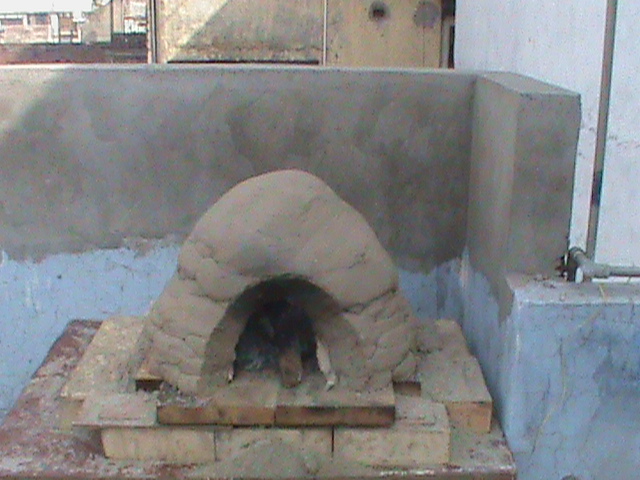
Photo 3
Photo 3 shows the oven on a plywood platform, which is placed on an old metal water boiler drum. The oven opening is quite small - around 11 inches.

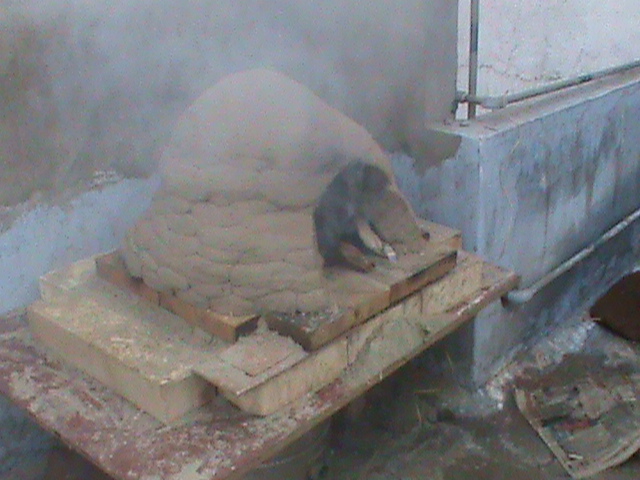
Photo 4
Photo 4 shows the clay oven being fired for the first time. The courses of the cobs can be seen on the walls of the oven as ridges. This first layer - the refractory layer, is a mixture of clay and sand in the ratio 1:3 with a water.
Mixing it was quite a task. I had to mix five batches of 8 kgs of the mixture in every batch. My son, his friend and my neighbor's daughter helped me. I could not finish the structure in a day. It took me 9 hours over a period of three days to finish it. With a group of 5-6 people, it should take much lesser time.
Lessons learned
- Leave some space to move around behind the oven as well.
- Ensure the centering of the structure on the base
- Be patient with yourself
- Wet the sand before making the form
- Make a cardboard form for the arch of the sand form which will help to pile on the sand more evenly.
Will have to fire the oven a couple of more times before cooking in it. Look out for more pictures soon. The pizzas will be really tiny I think. Let's see...
After that I will have to build the insulating layer.
|
|
Back to DIY page

